
Our Design Process
A structured, step-by-step approach that brings clarity, confidence, and direction to your remodeling project—before construction begins.
A Successful Remodel Starts Long Before Construction.
At Studio Fieldstone, our process is designed to eliminate uncertainty, streamline decision-making, and ensure your project moves forward with a clear, well-defined plan.
Whether you are a homeowner or a builder, our structured approach helps turn ideas into a cohesive design that can be executed with confidence.
Process Overview
Discovery
Understanding your Project
Every project begins with a discovery call where we learn about your space, goals, timeline, and priorities.
We’ll discuss how you use your space, what’s working, what isn’t, and what you want to achieve through your remodel.
We’ll also review any inspiration, existing plans, or constraints that may impact the design.
Outcome:
A clear understanding of your project direction and the right design package for your needs.
1
Project Intake
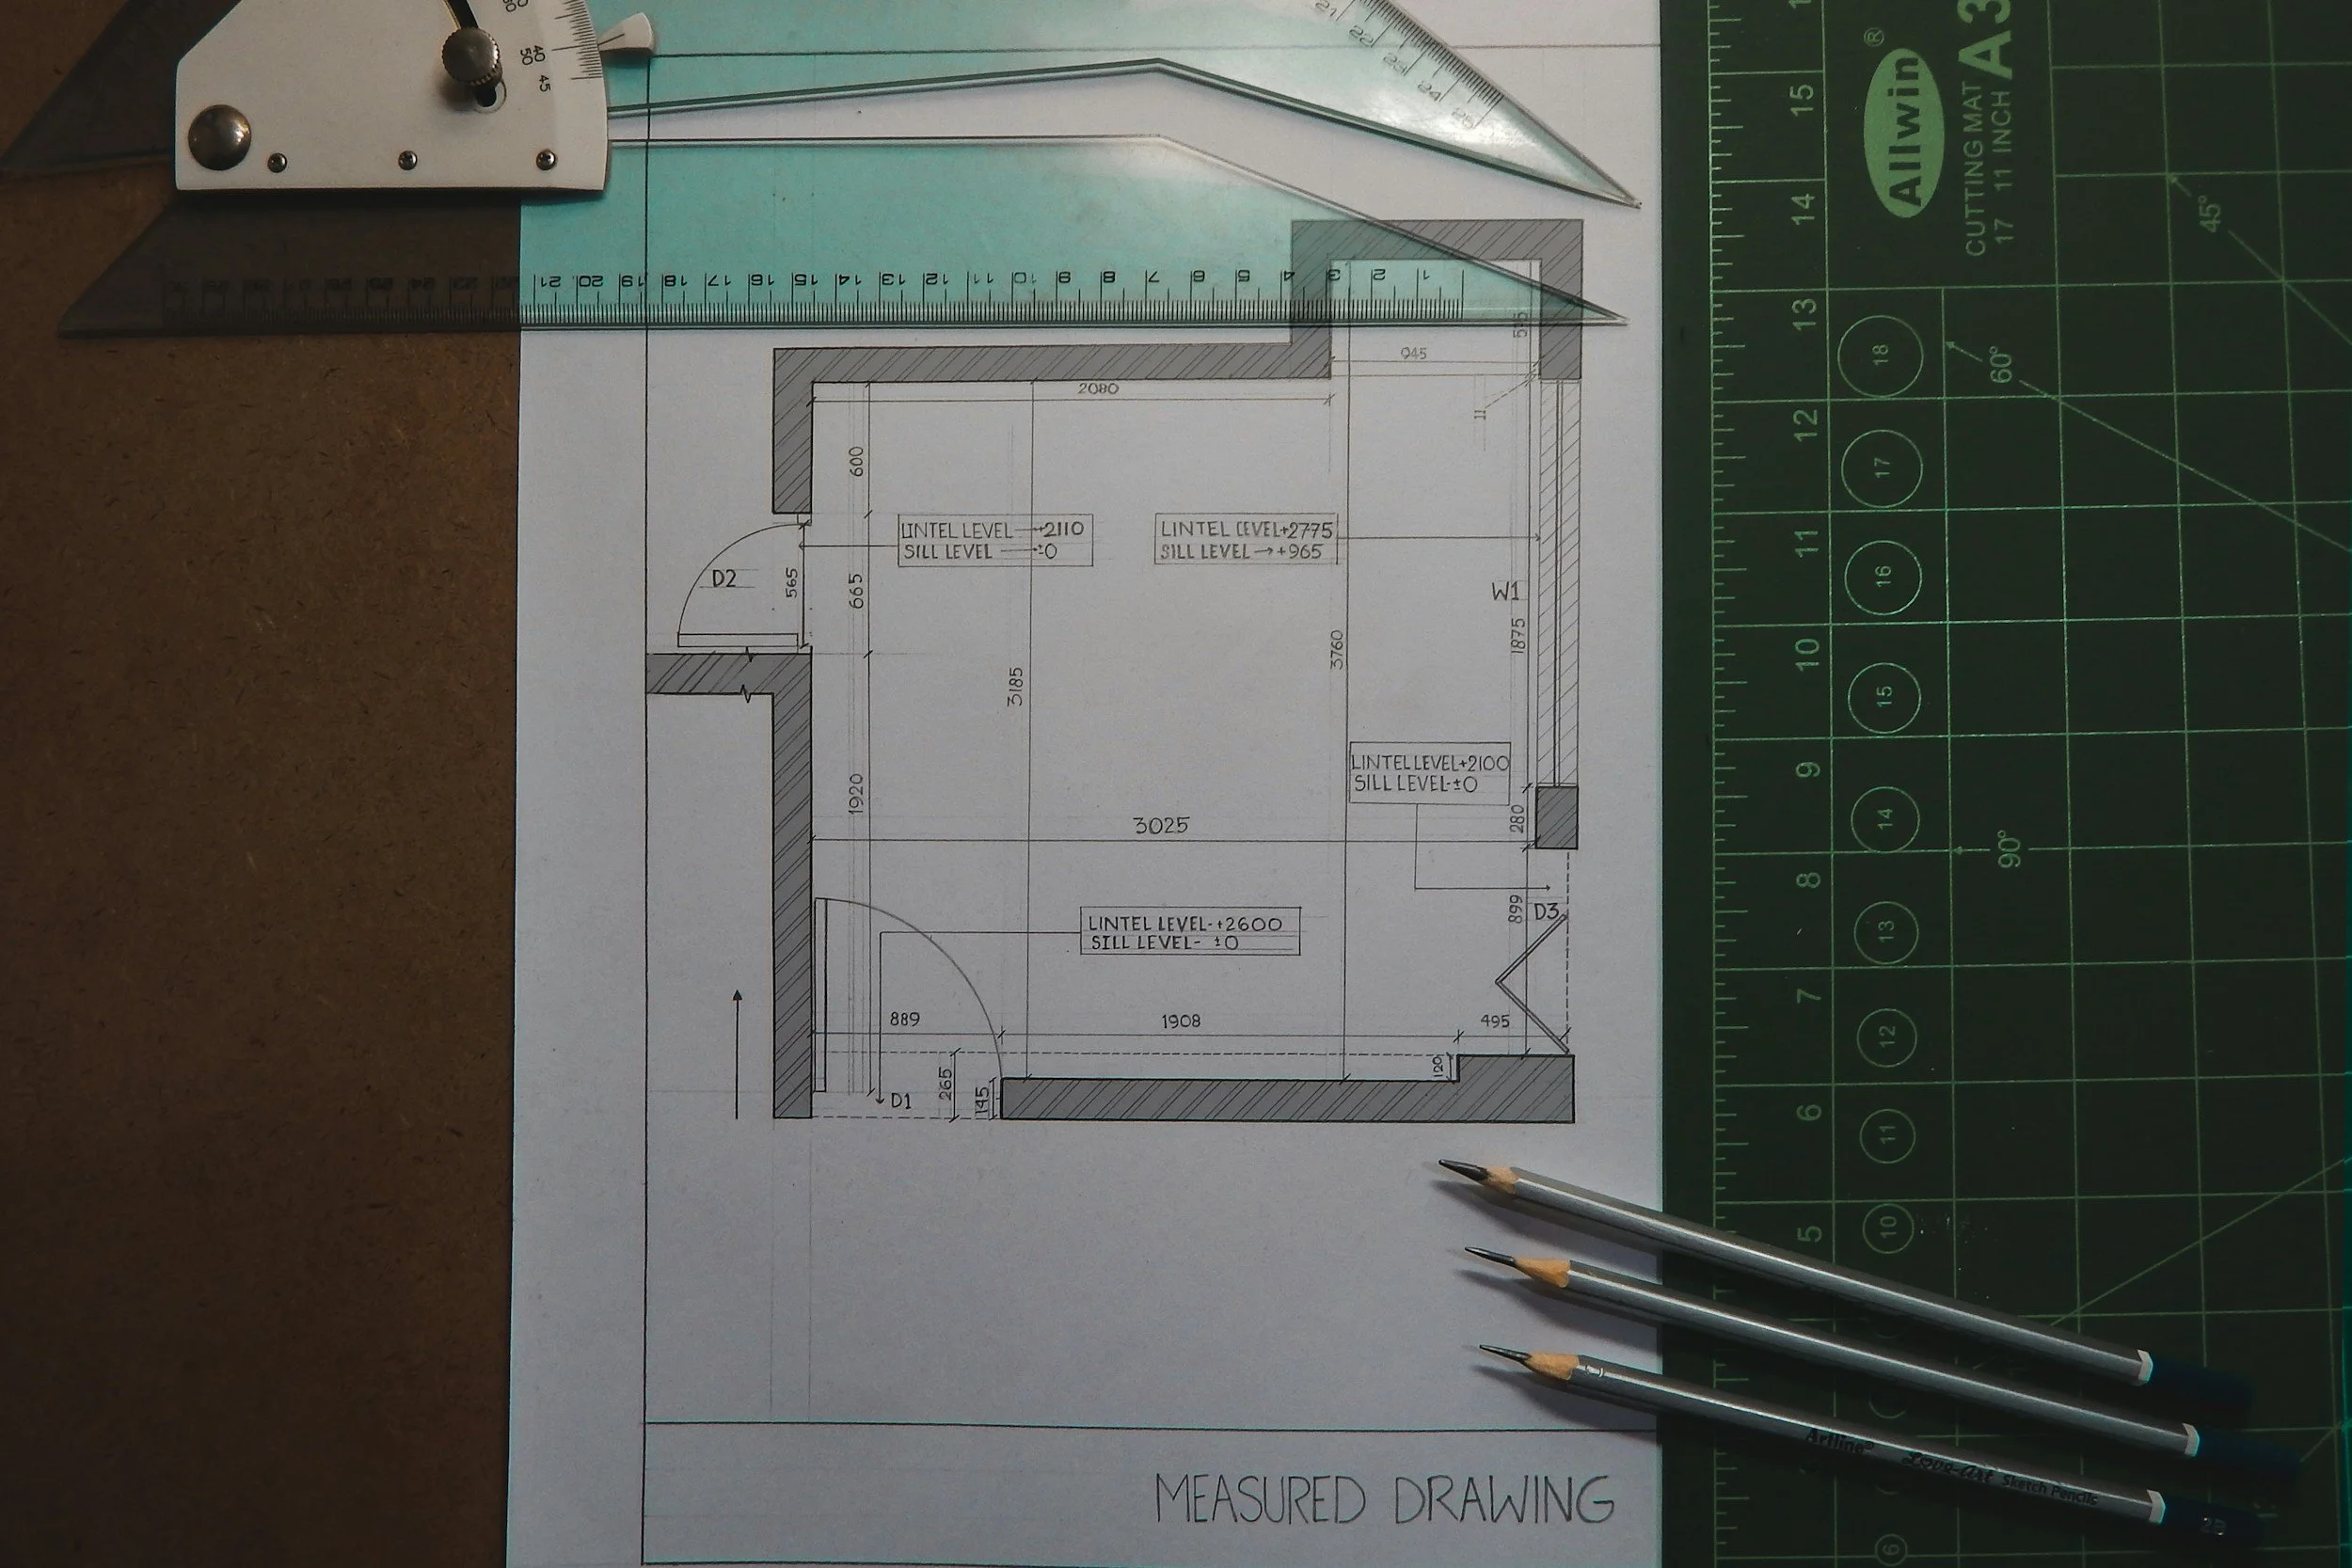
Project Intake & Measurements
What You’ll Provide
To begin the design process, we’ll ask you (or your contractor) to complete a simple intake form that includes:
rough measurements of the space
photos of the existing conditions
any existing plans or drawings (if available)
notes on priorities, preferences, and constraints
Why This Matters
Accurate information at the start of the project allows us to:
create layouts that reflect your actual space
avoid preventable design issues
reduce revisions later in the process
provide more precise recommendations
This step is essential to ensuring your design is both realistic and buildable.
Measurements provided are considered approximate and will be verified by your contractor prior to construction.
2
Design Direction
Establishing the Foundation
We begin developing the overall layout and design direction for your space.
This phase focuses on function, flow, and key design decisions—ensuring the space works before we refine the details.
Depending on your package, this may include initial layout concepts and high-level material direction.
Outcome:
A strong design foundation aligned with your goals and priorities.
3
Layouts & Visualizations
Bringing the Design to Life
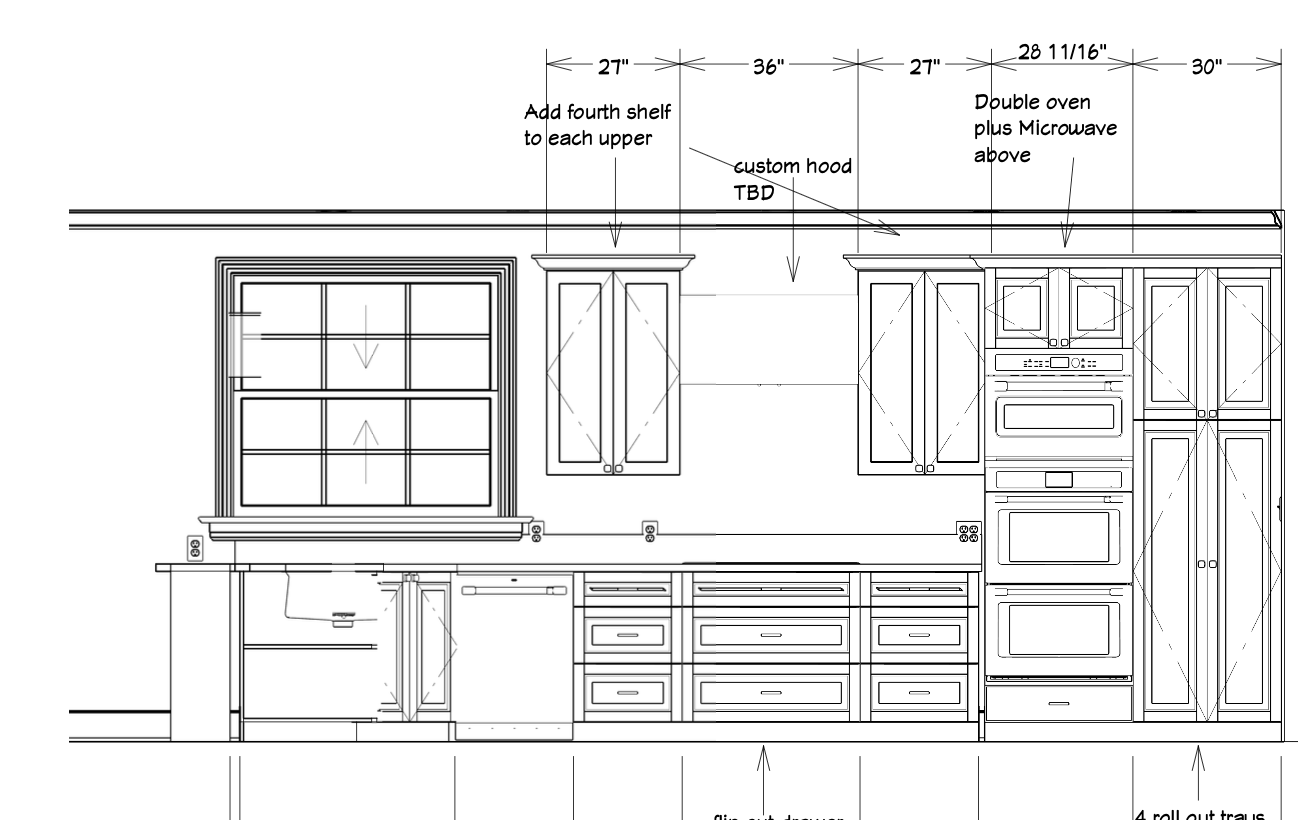
We translate the design direction into detailed layouts and, where applicable, 3D renderings.
This allows you to clearly see how your space will look and function before construction begins.
We refine the design as needed to ensure everything feels cohesive and aligned.
Outcome:
Visual clarity and confidence in the design before moving forward.
4
Final Design Package
Ready for Construction
You receive a complete design package tailored to your selected service level.
This may include layouts, renderings, material schedules, and specification documents that your contractor can use during construction.
Our goal is to eliminate guesswork and provide a clear roadmap for execution.
Important Note:
Design packages are not permit-ready but are prepared for contractor use and final code compliance.
Outcome:
A well-defined design that supports a smooth and efficient construction process.
6
Selections and Specifications
Defining the Details
We curate and finalize materials, fixtures, and finishes that support the overall design.
This includes cabinetry, tile, plumbing fixtures, lighting, and other key elements depending on your project.
Selections are made with both aesthetics and practicality in mind.
Outcome:
A cohesive set of selections that align with your design and project goals.
5
How Remote Design Works
A Fully Remote Experience
Our process is designed to work seamlessly regardless of location.
We communicate through video meetings, email, and shared design documents, allowing you to stay involved without the need for in-person meetings.
What You Can Expect
Clear communication throughout each phase
Structured timelines and deliverables
Digital presentations and design files
A collaborative, guided experience

Timeline Expectations
Typical Project Timelines
Kitchen projects: 3–6 weeks depending on scope
Bathroom projects: 2–5 weeks depending on scope
Timelines may vary based on project complexity and responsiveness during the design process.
Client Responsibilities
What We’ll Need From You
To keep your project moving efficiently, we ask that clients:
provide timely feedback during each phase
review design materials carefully
communicate any changes or concerns early
provide accurate measurements or plans when available
This ensures we can deliver the best possible outcome within your timeline.
Frequently Asked Questions
-
No. Many clients begin with design so they can approach contractors with a clear plan.
-
Yes. We can coordinate with your contractor to ensure the design is clearly understood.
-
Each package includes a defined number of revisions, with additional revisions available if needed.
-
No. Final permit drawings and code compliance are handled by your contractor or local professional.
-
Collaborative, honest, and straightforward. We're here to guide the process, bring ideas to the table, and keep things moving.
Ready to Get Started?
The first step is a discovery call where we learn about your project and recommend the right path forward.